Workbench
2013-12-11 01:25 by Ian
Enough visitors to my home have taken pictures of my workbench to convince me to put pictures and descriptions of things online. This is my workbench.
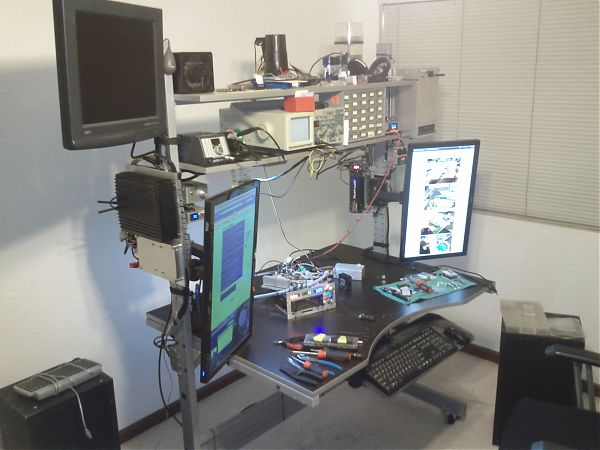
Overview:
The base of the build is an Ikea workbench I bought in 2004 for $160 (including the top-shelf add-on). Sadly, it is no longer being manufactured. But the design of the thing is simple enough to replicate. The construction of the bench itself is all steel, with MDF shelf and table surfaces. The MDF will likely be replaced with reinforced aluminum at a later date, as I am sure the rest of the bench will outlast the MDF.
A list of significant modifications and additions:
- Addition of caster wheels so I can move the entire bench without disassembling it (watch your toes, sharp edges!)
- Adaptor plates for the monitor arms
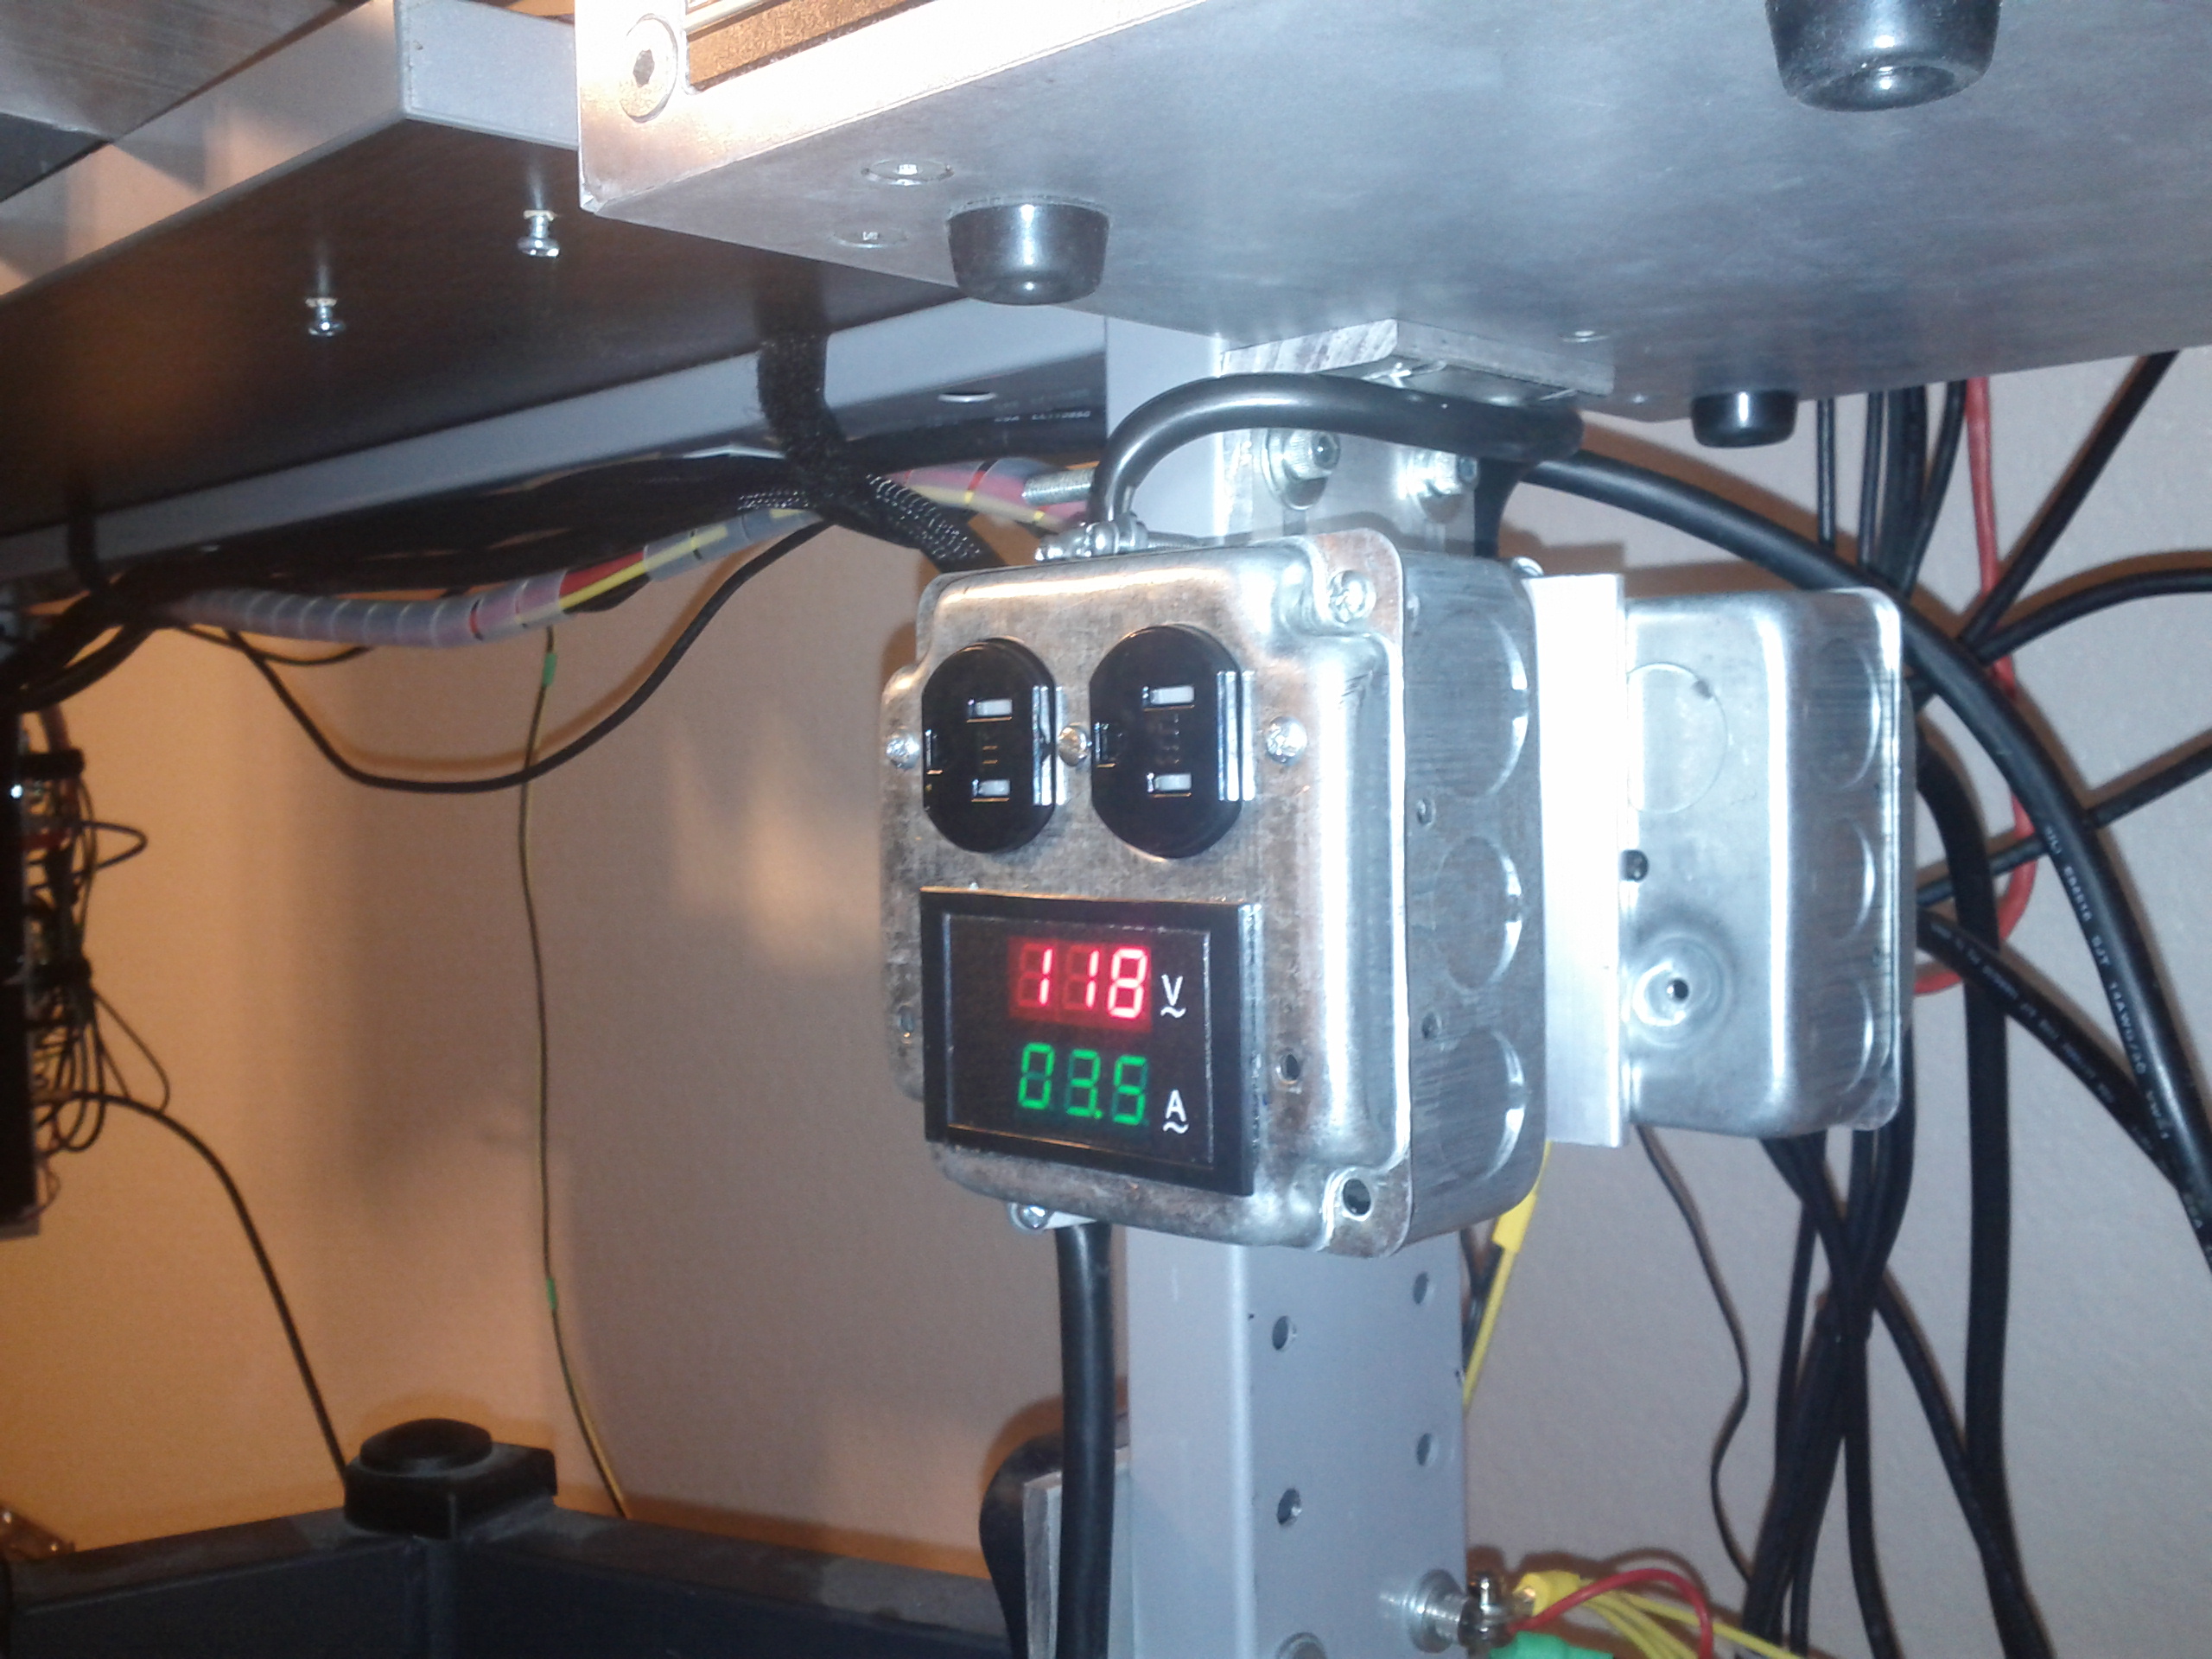
- Mains distribution box with integrated meter (right-hand side)
- Mains distribution box (left-hand side)
- A mounting plate for my server, its associated hard drive, and my home networking gear
- Audio amplifier and the DC/DC converter that feeds the 19v side-chain
- An auxiliary LCD monitor for the server, or whatever other machine that happens to be under-the-knife.
- My main PC, which is chronicled here
- 12v power supply and its beefy capacitor
- An awful keyboard tray (which is also due for replacement)
Server and Network Gear:
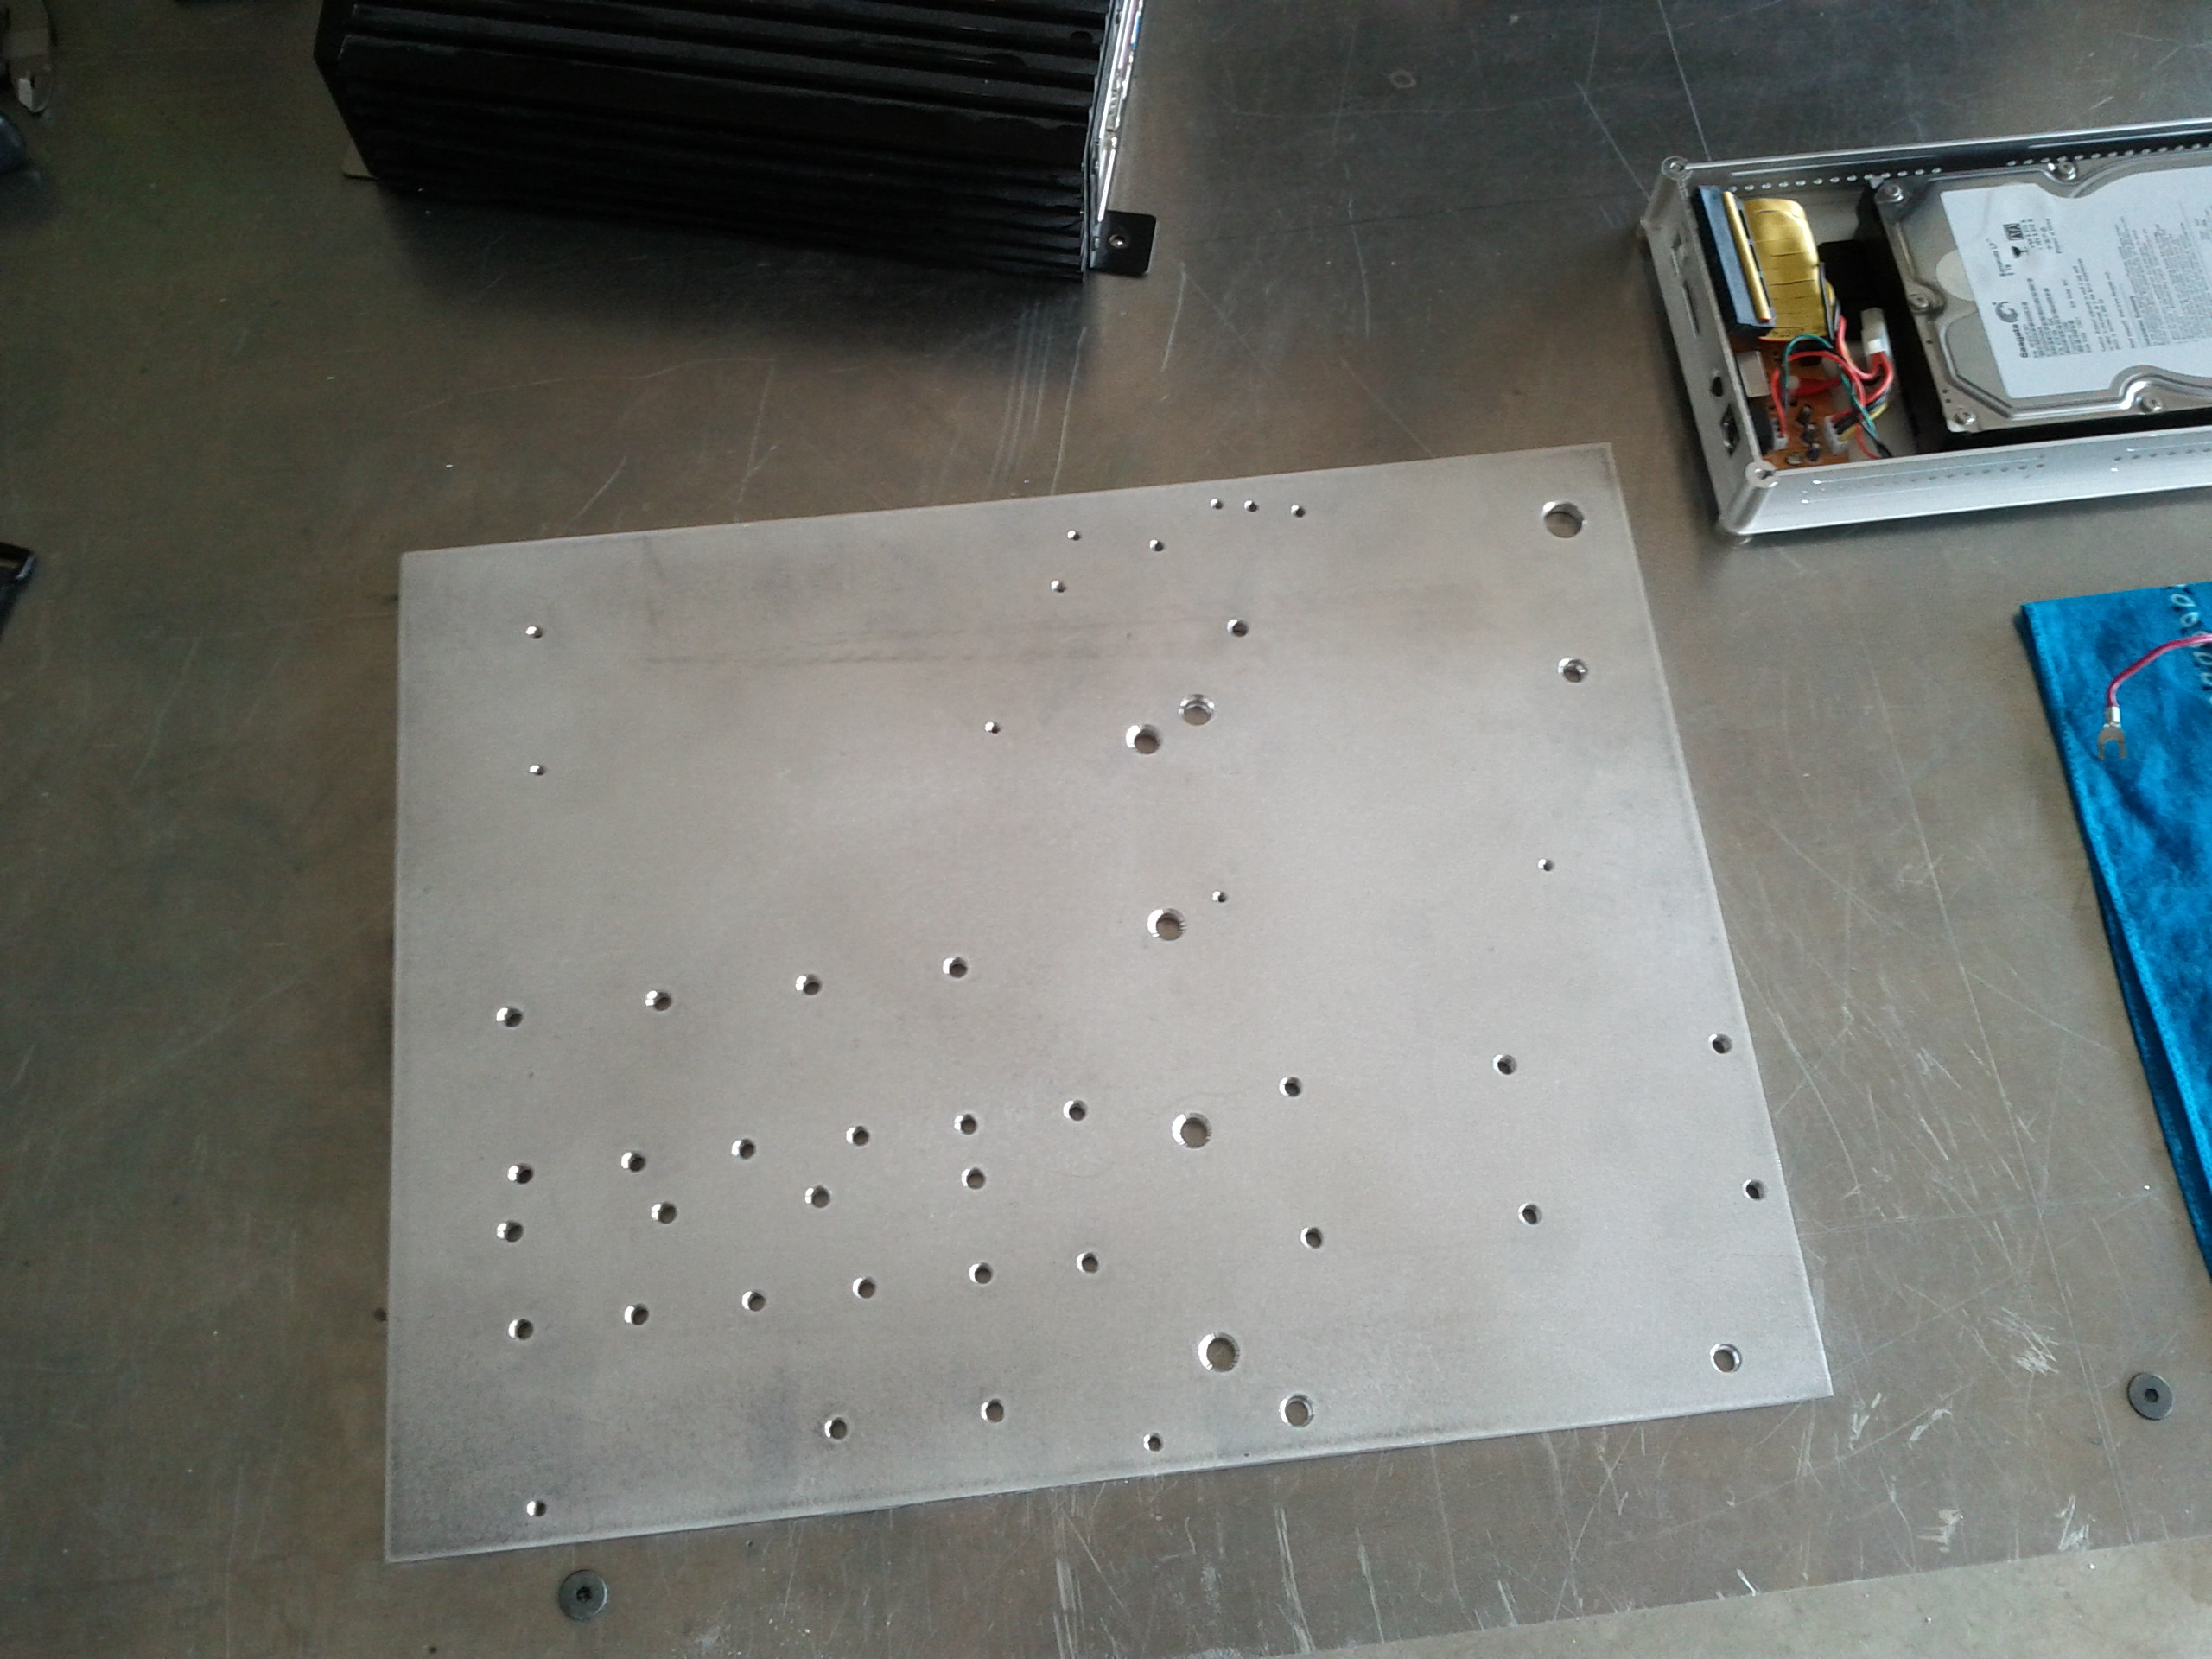
My server is an Intel Atom D525 with 4GB RAM stuffed into a car amplifier case. There is also an external 2TB hard drive. This, and some associated hardware needed to be collected into a nice neat package and mounted to the bench. Here is the plate that I drilled and tapped:
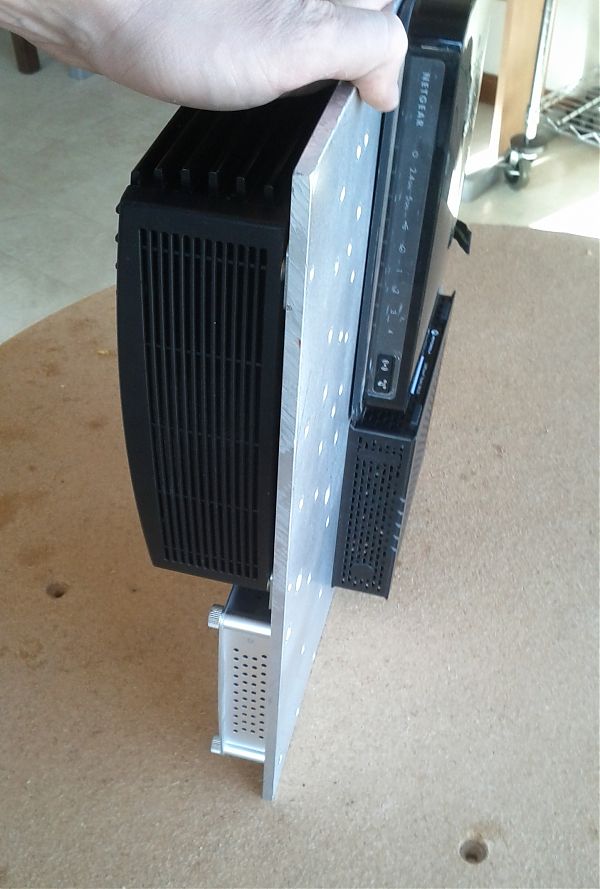
And with mounted networking gear...
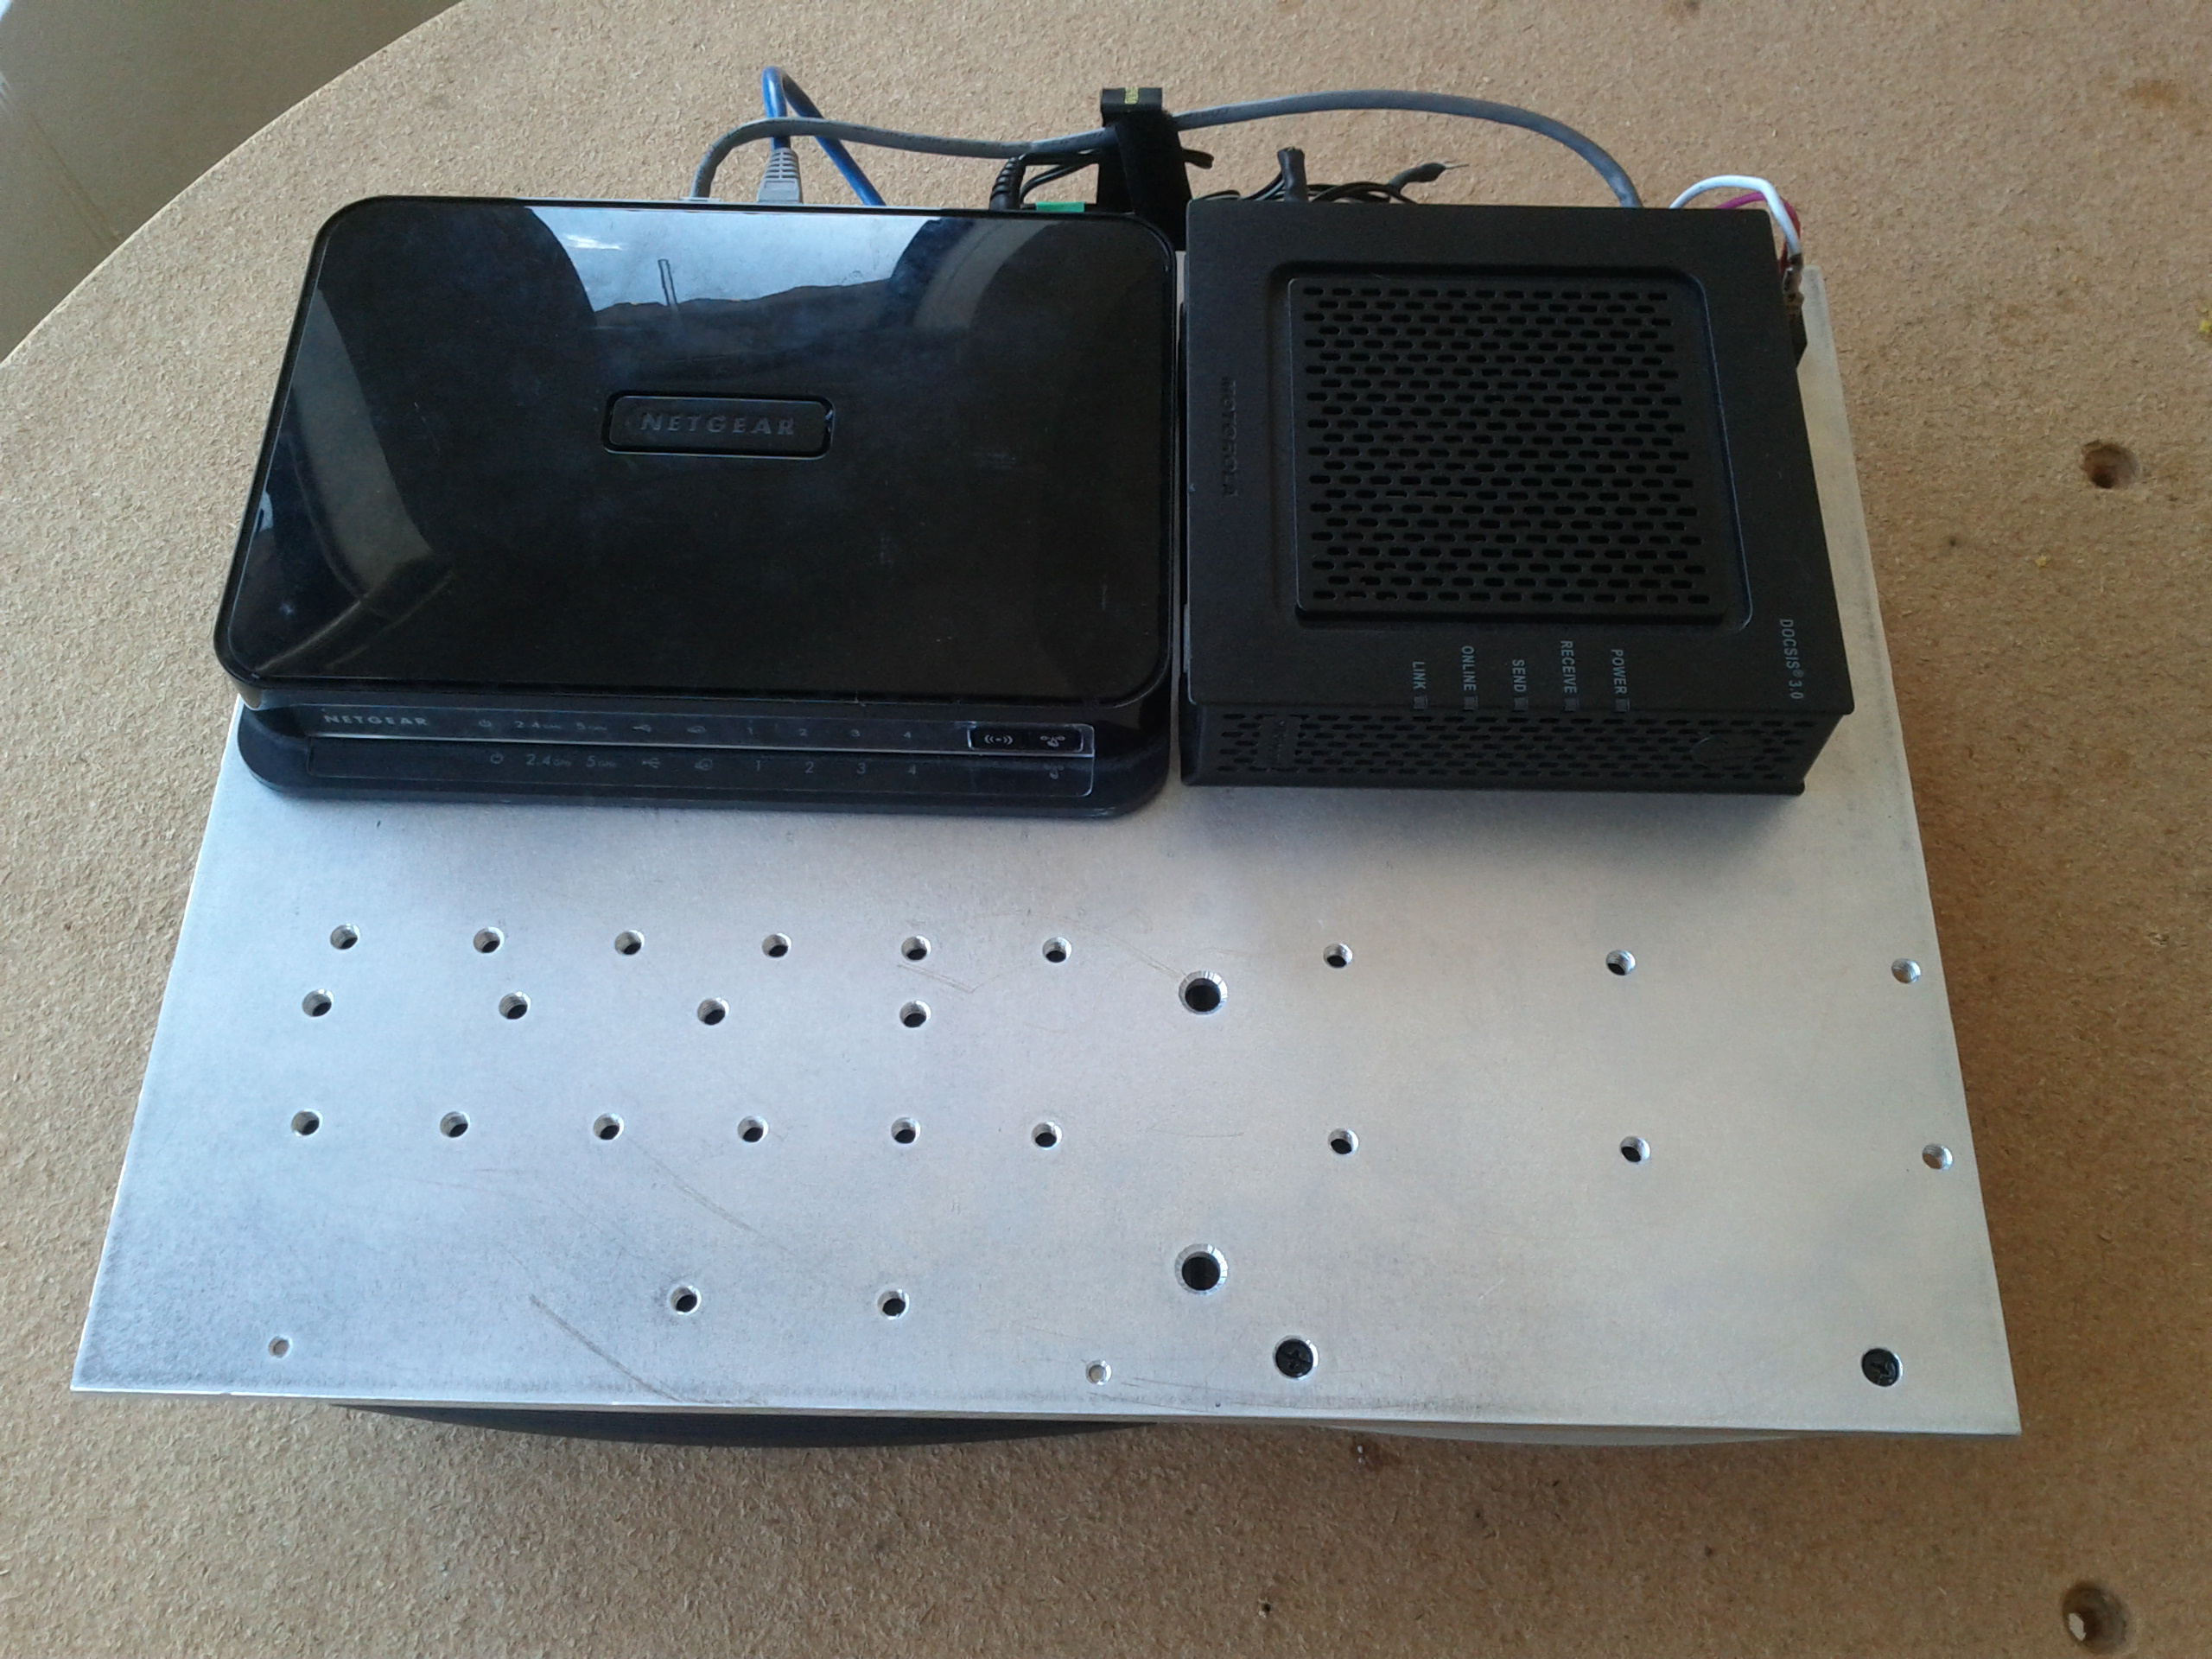
One of the nice things about using 1/4" aluminum plate to mount things is that it is thick enough to tap for screwing hardware directly to the plate without having to use steel nuts. Here is the server plate containing all its hardware before being mounted to the bench...
...and mounted to the bench with all the cables neatly tucked and bundled...
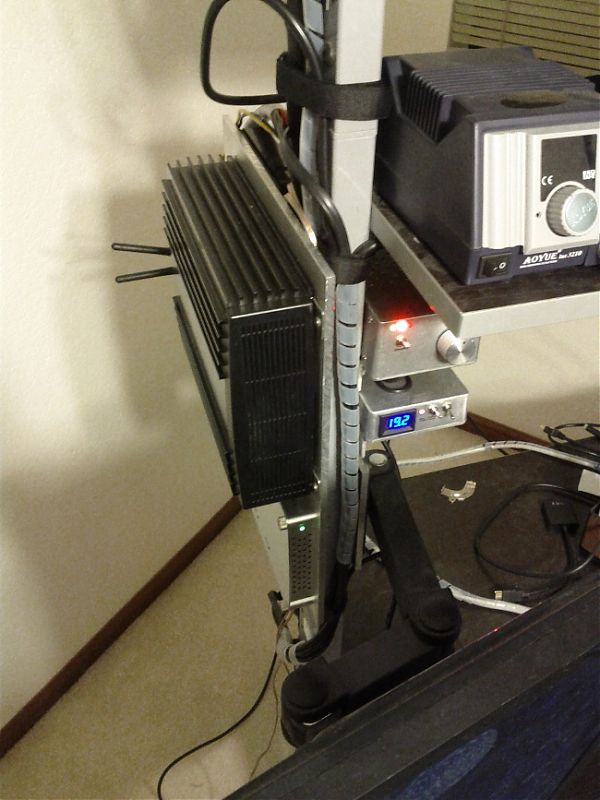
Also visible in the image above are my audio amplifier, and the step-up DC/DC converter that powers the 19v devices in the LV-DC system. You can also see the left-hand LCD monitor arm that was attached to the bench with a custom-cut adaptor plate.
Mains Wiring:
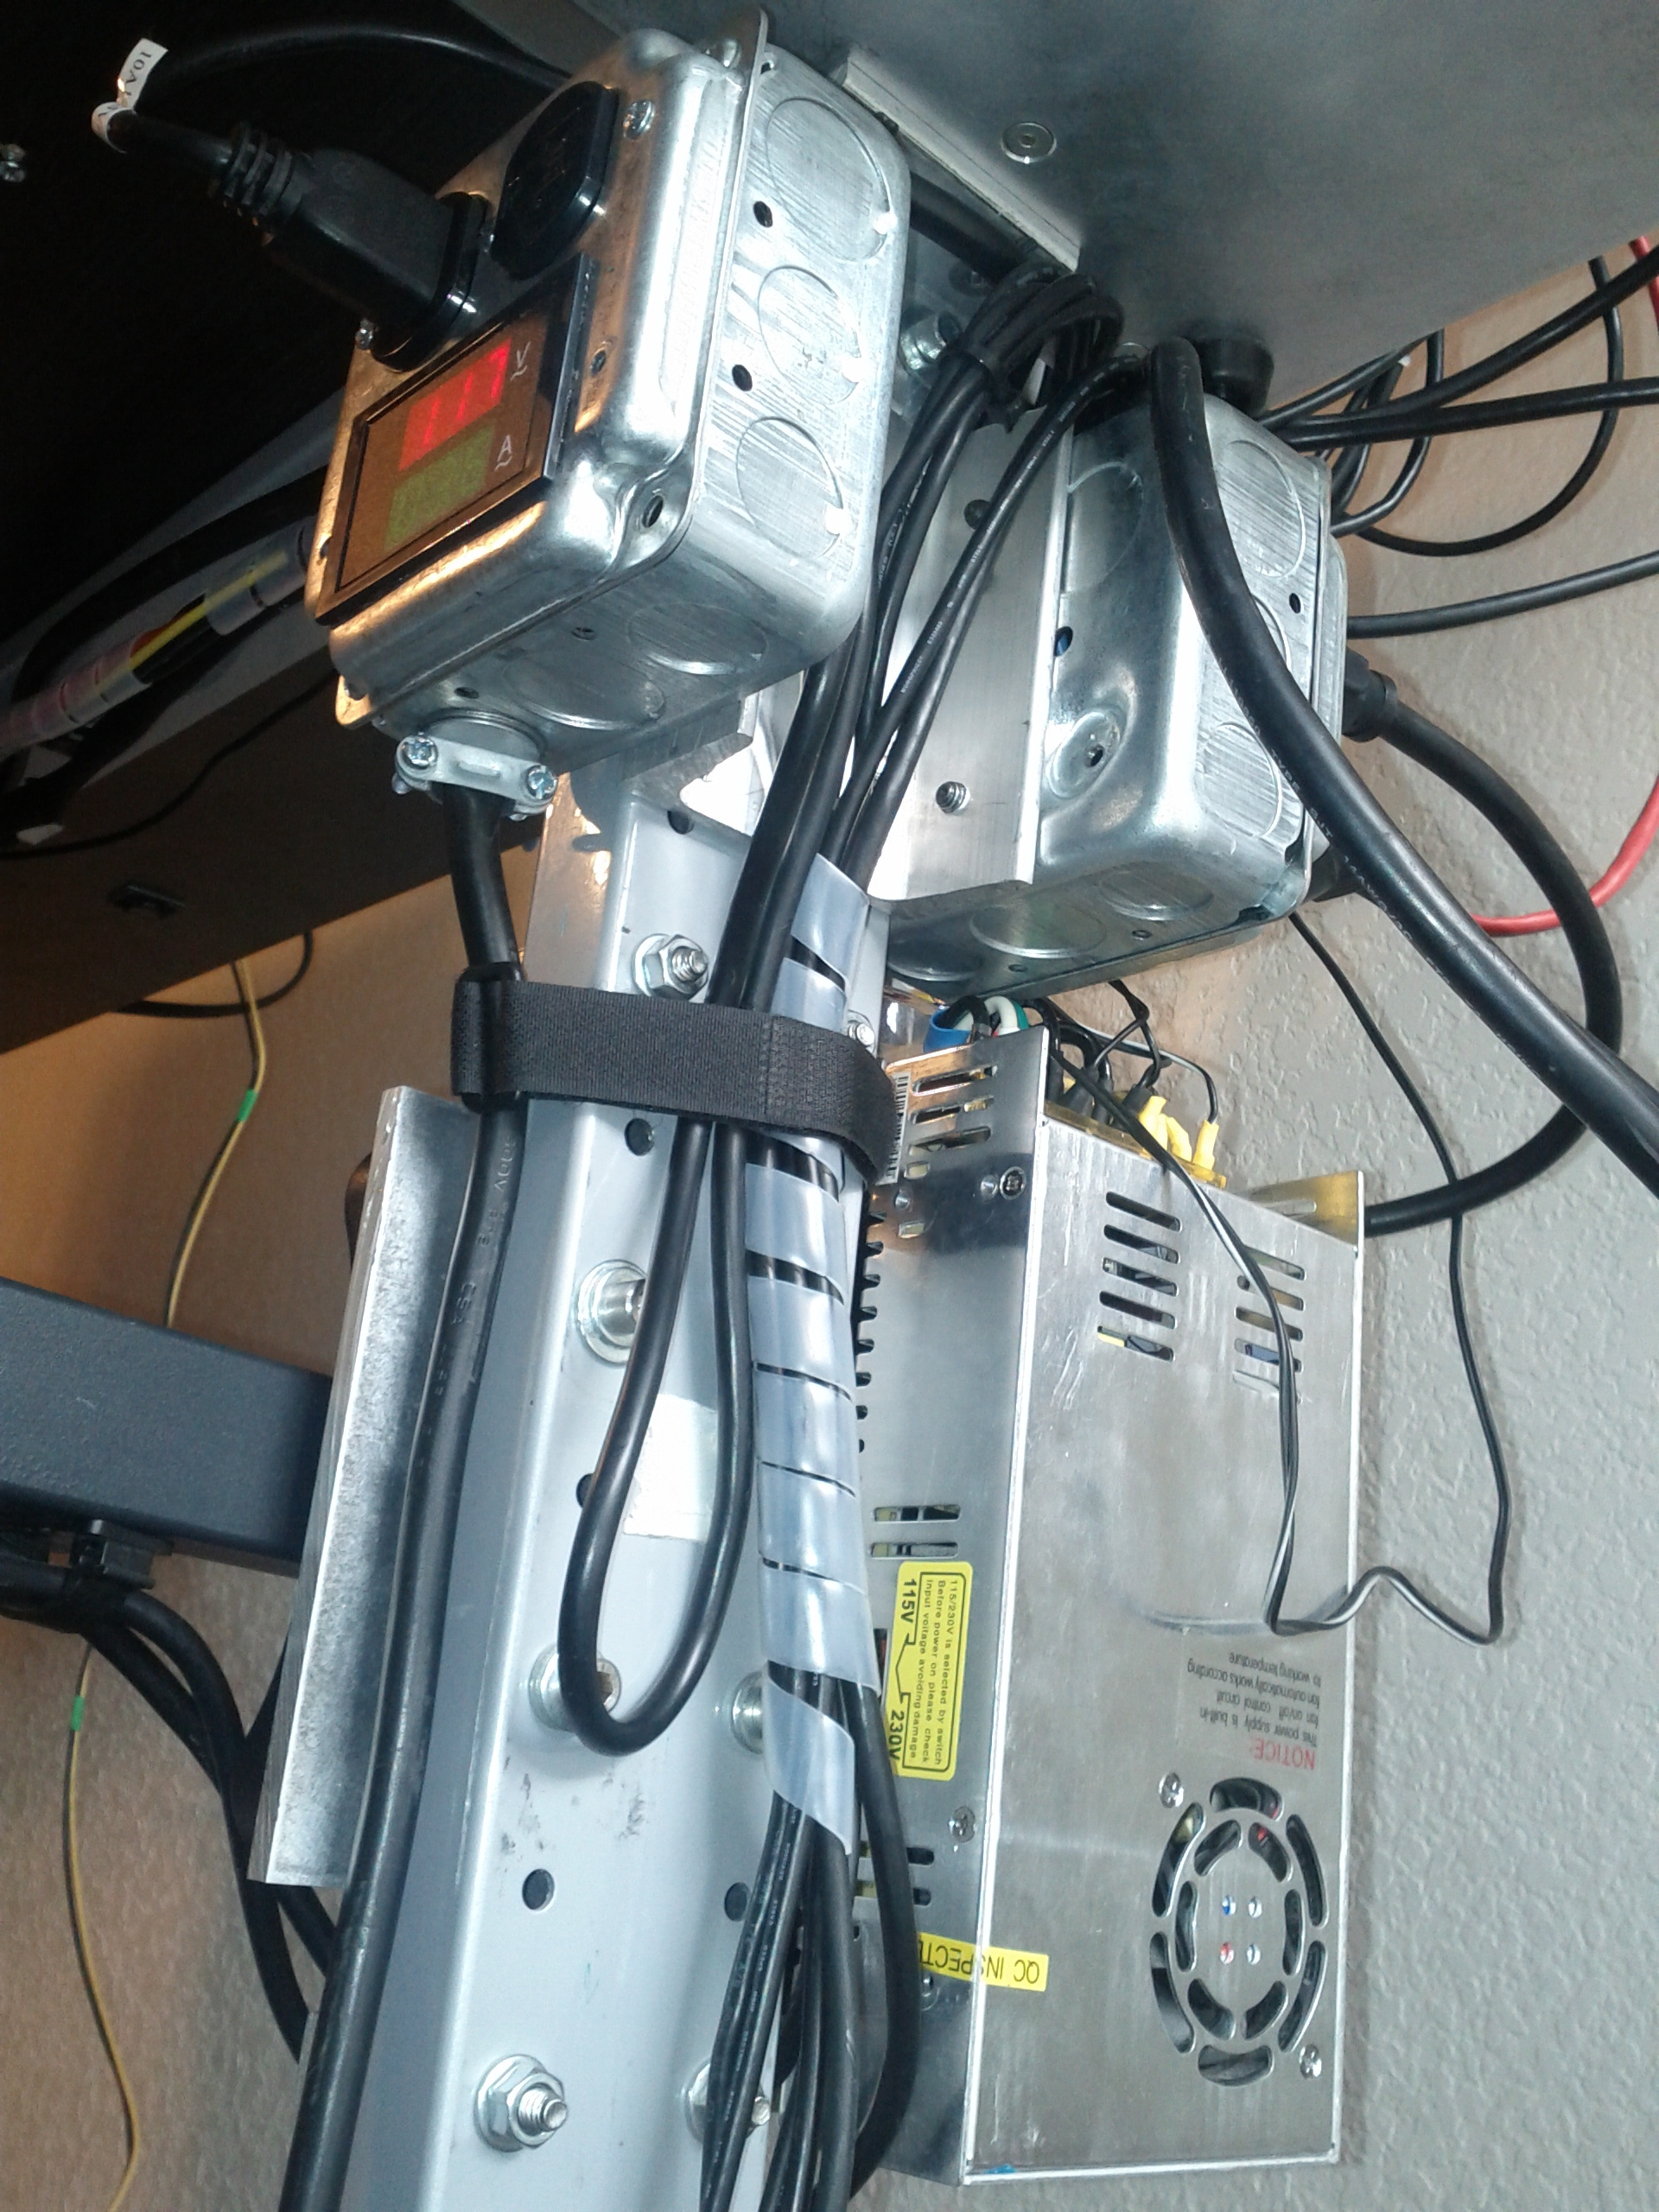
The mains wiring was built to handle up to 20A at 120v, but with everything on the bench running at full-tilt, I don't even come close to reaching the design capacity. I can keep watch on the current draw for the entire bench using the AC meter that I wired into the first mains distribution box. All electrical load on the bench ultimately passes through this box.
LV-DC System:
The conversion to an LV-DC subsystem was done piecemeal over the course of a few years and it recently received a major upgrade. Previously, I was powering the server and all of the minor peripheral electronics from a single laptop power brick at 15v. The addition of a bitcoin miner (300 watts!) convinced me that it was time to build a proper DC subsystem. I am wary of the construction of the BFL power brick that came with the miner, and since the miner is picky about its operating voltage, I chose a stout 12v PSU to run everything that was once tied to that poor mule of a power brick.
The 480W 12v power brick is one of those open-frame Chinese specials, and it shows. The thing arrived from Ebay, and was DOA. After tearing off the "QA PASSED" sticker and opening it up, I quickly found the problem.
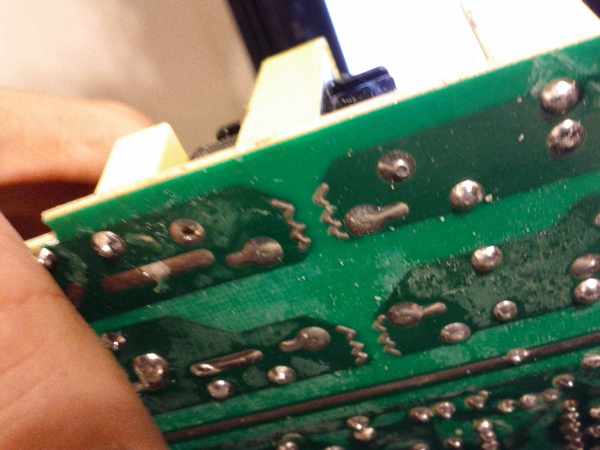

Fortunately, the rest of the thing seems built to spec. A few quick touch-ups with the soldering iron, repositioning a badly-mounted heat sink, the addition of an extra heat sink behind the output switching transistors, and a simple bracket system to bolt the thing to the desk.
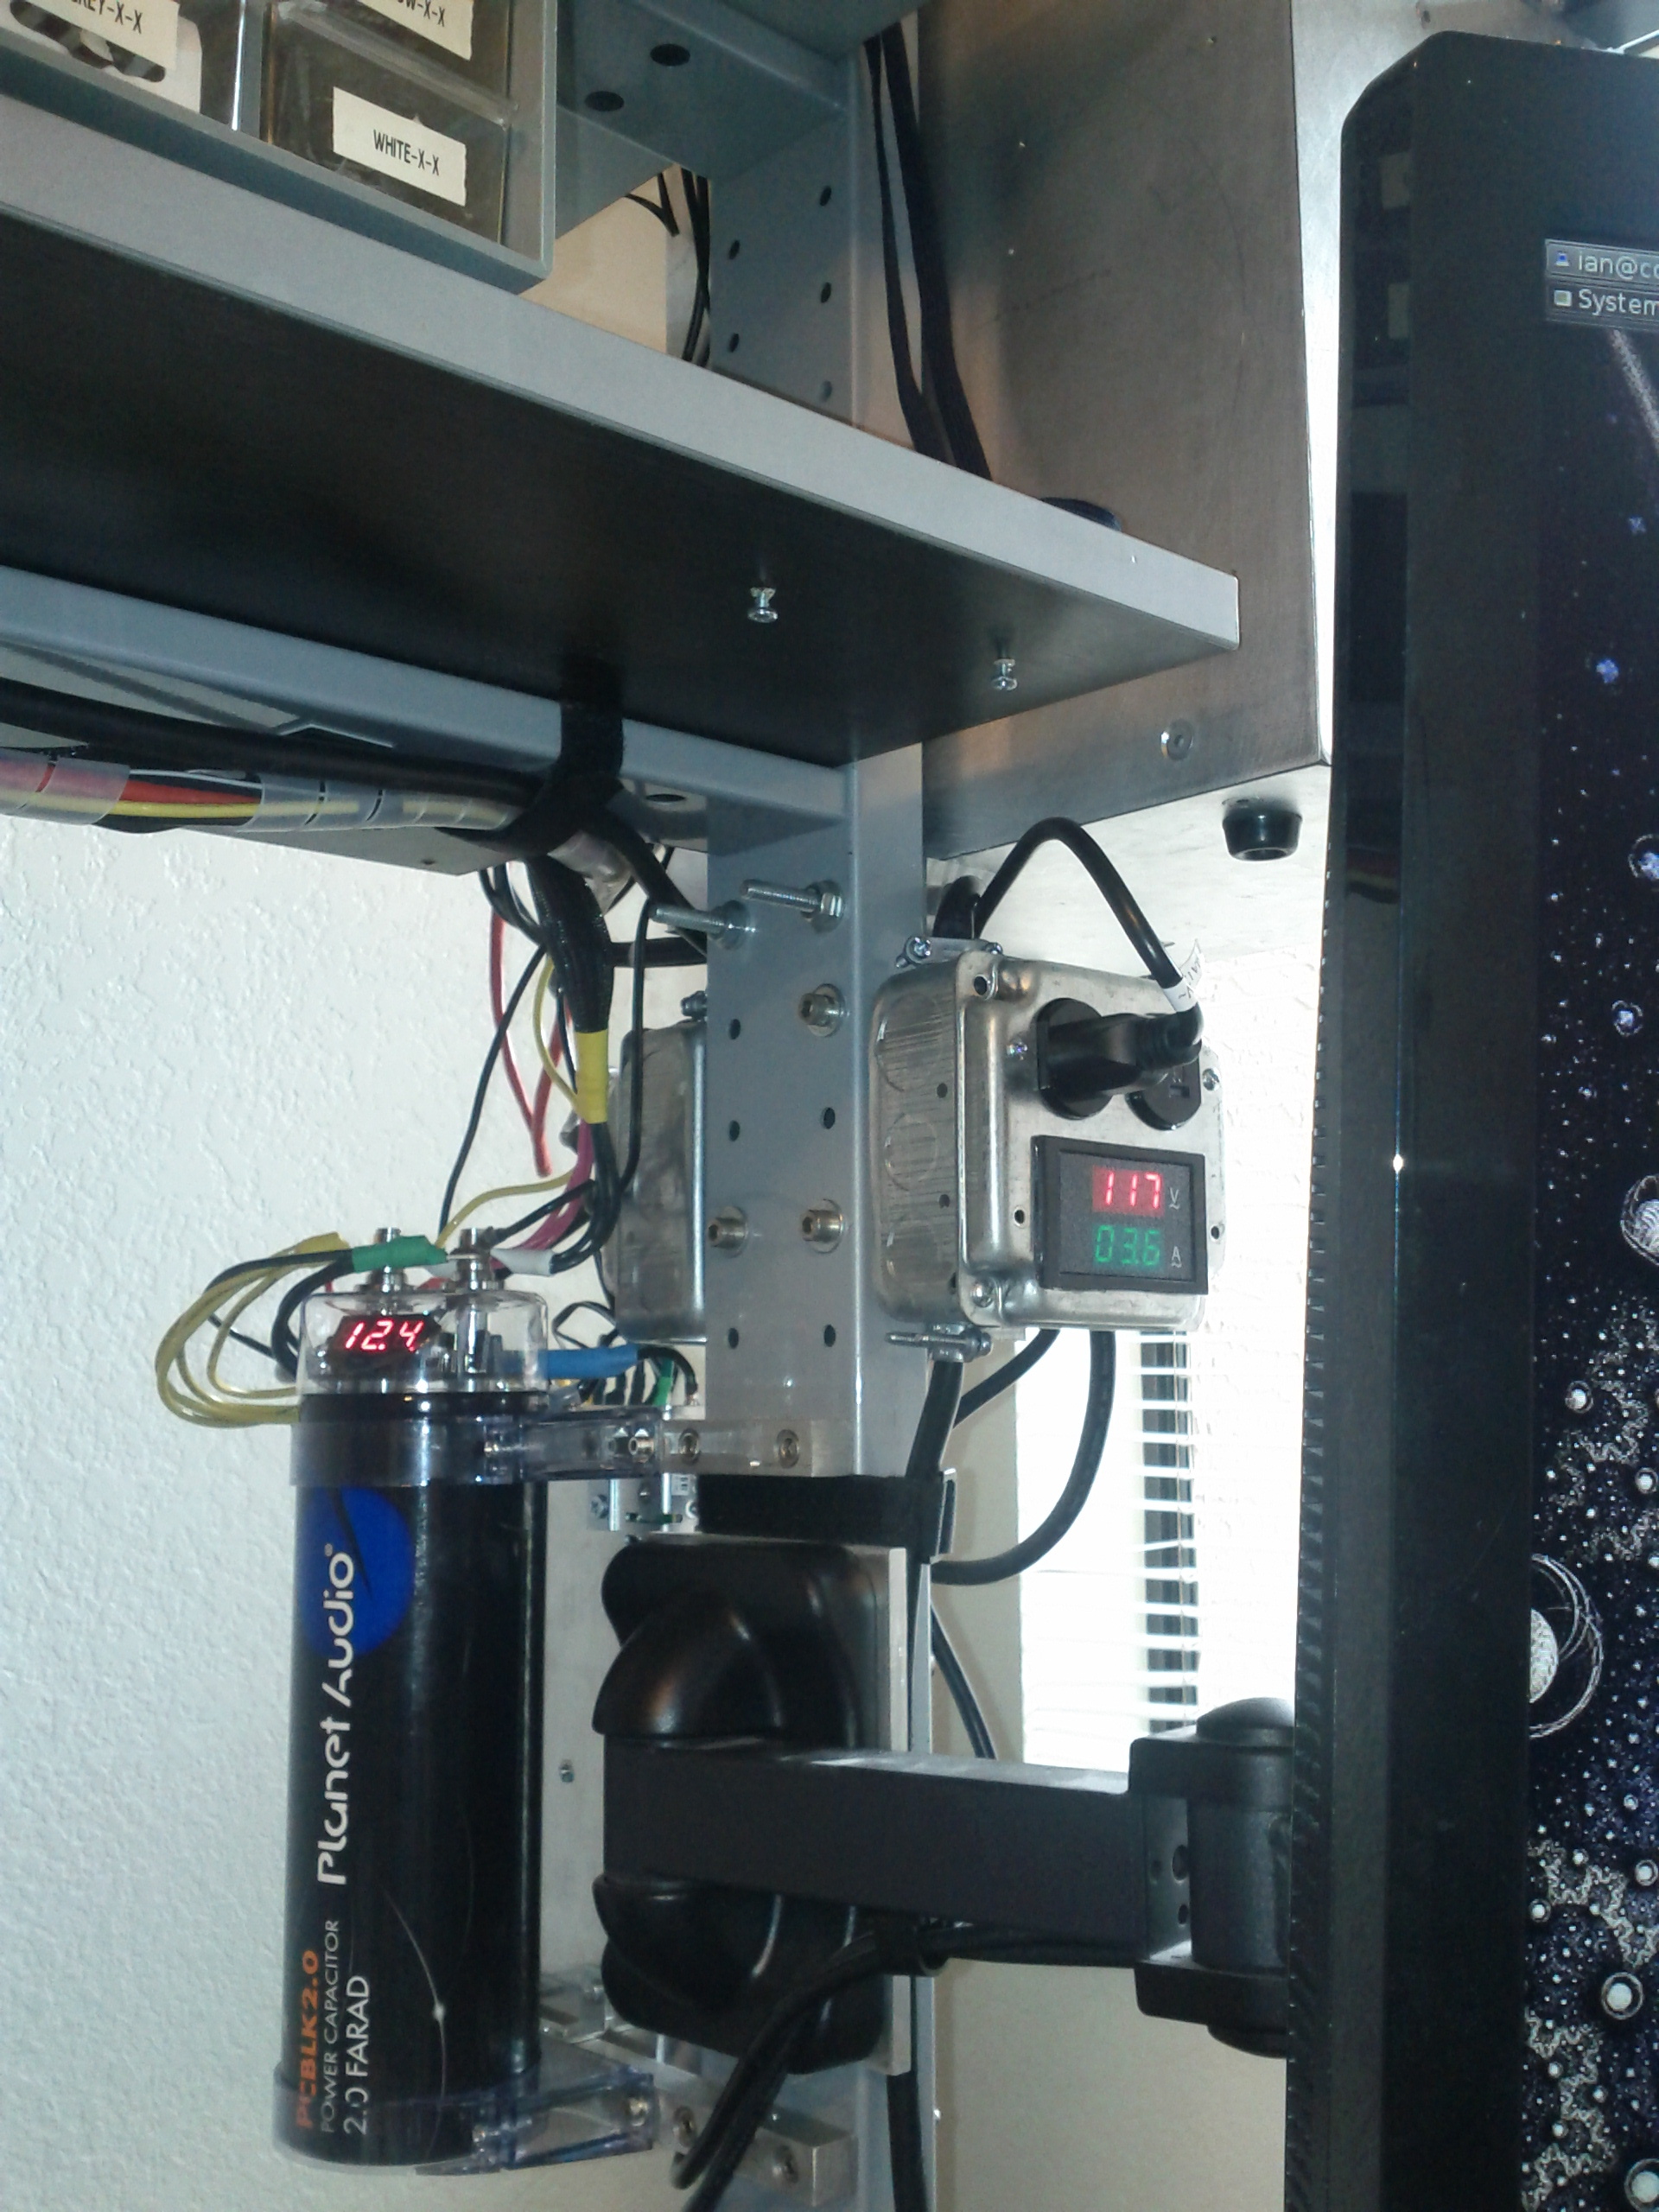
Because many of these loads turn on and off suddenly and vary widely with respect to their current-draw, I added a 2 farad capacitor to shoulder the impact of new loads being dropped onto the circuit. I could have achieved this end with 5% of this capacitance, but the car audio market has made these monsters cheaper than building the smaller cap bank. It even has a built-in voltmeter.
The completed assembly:
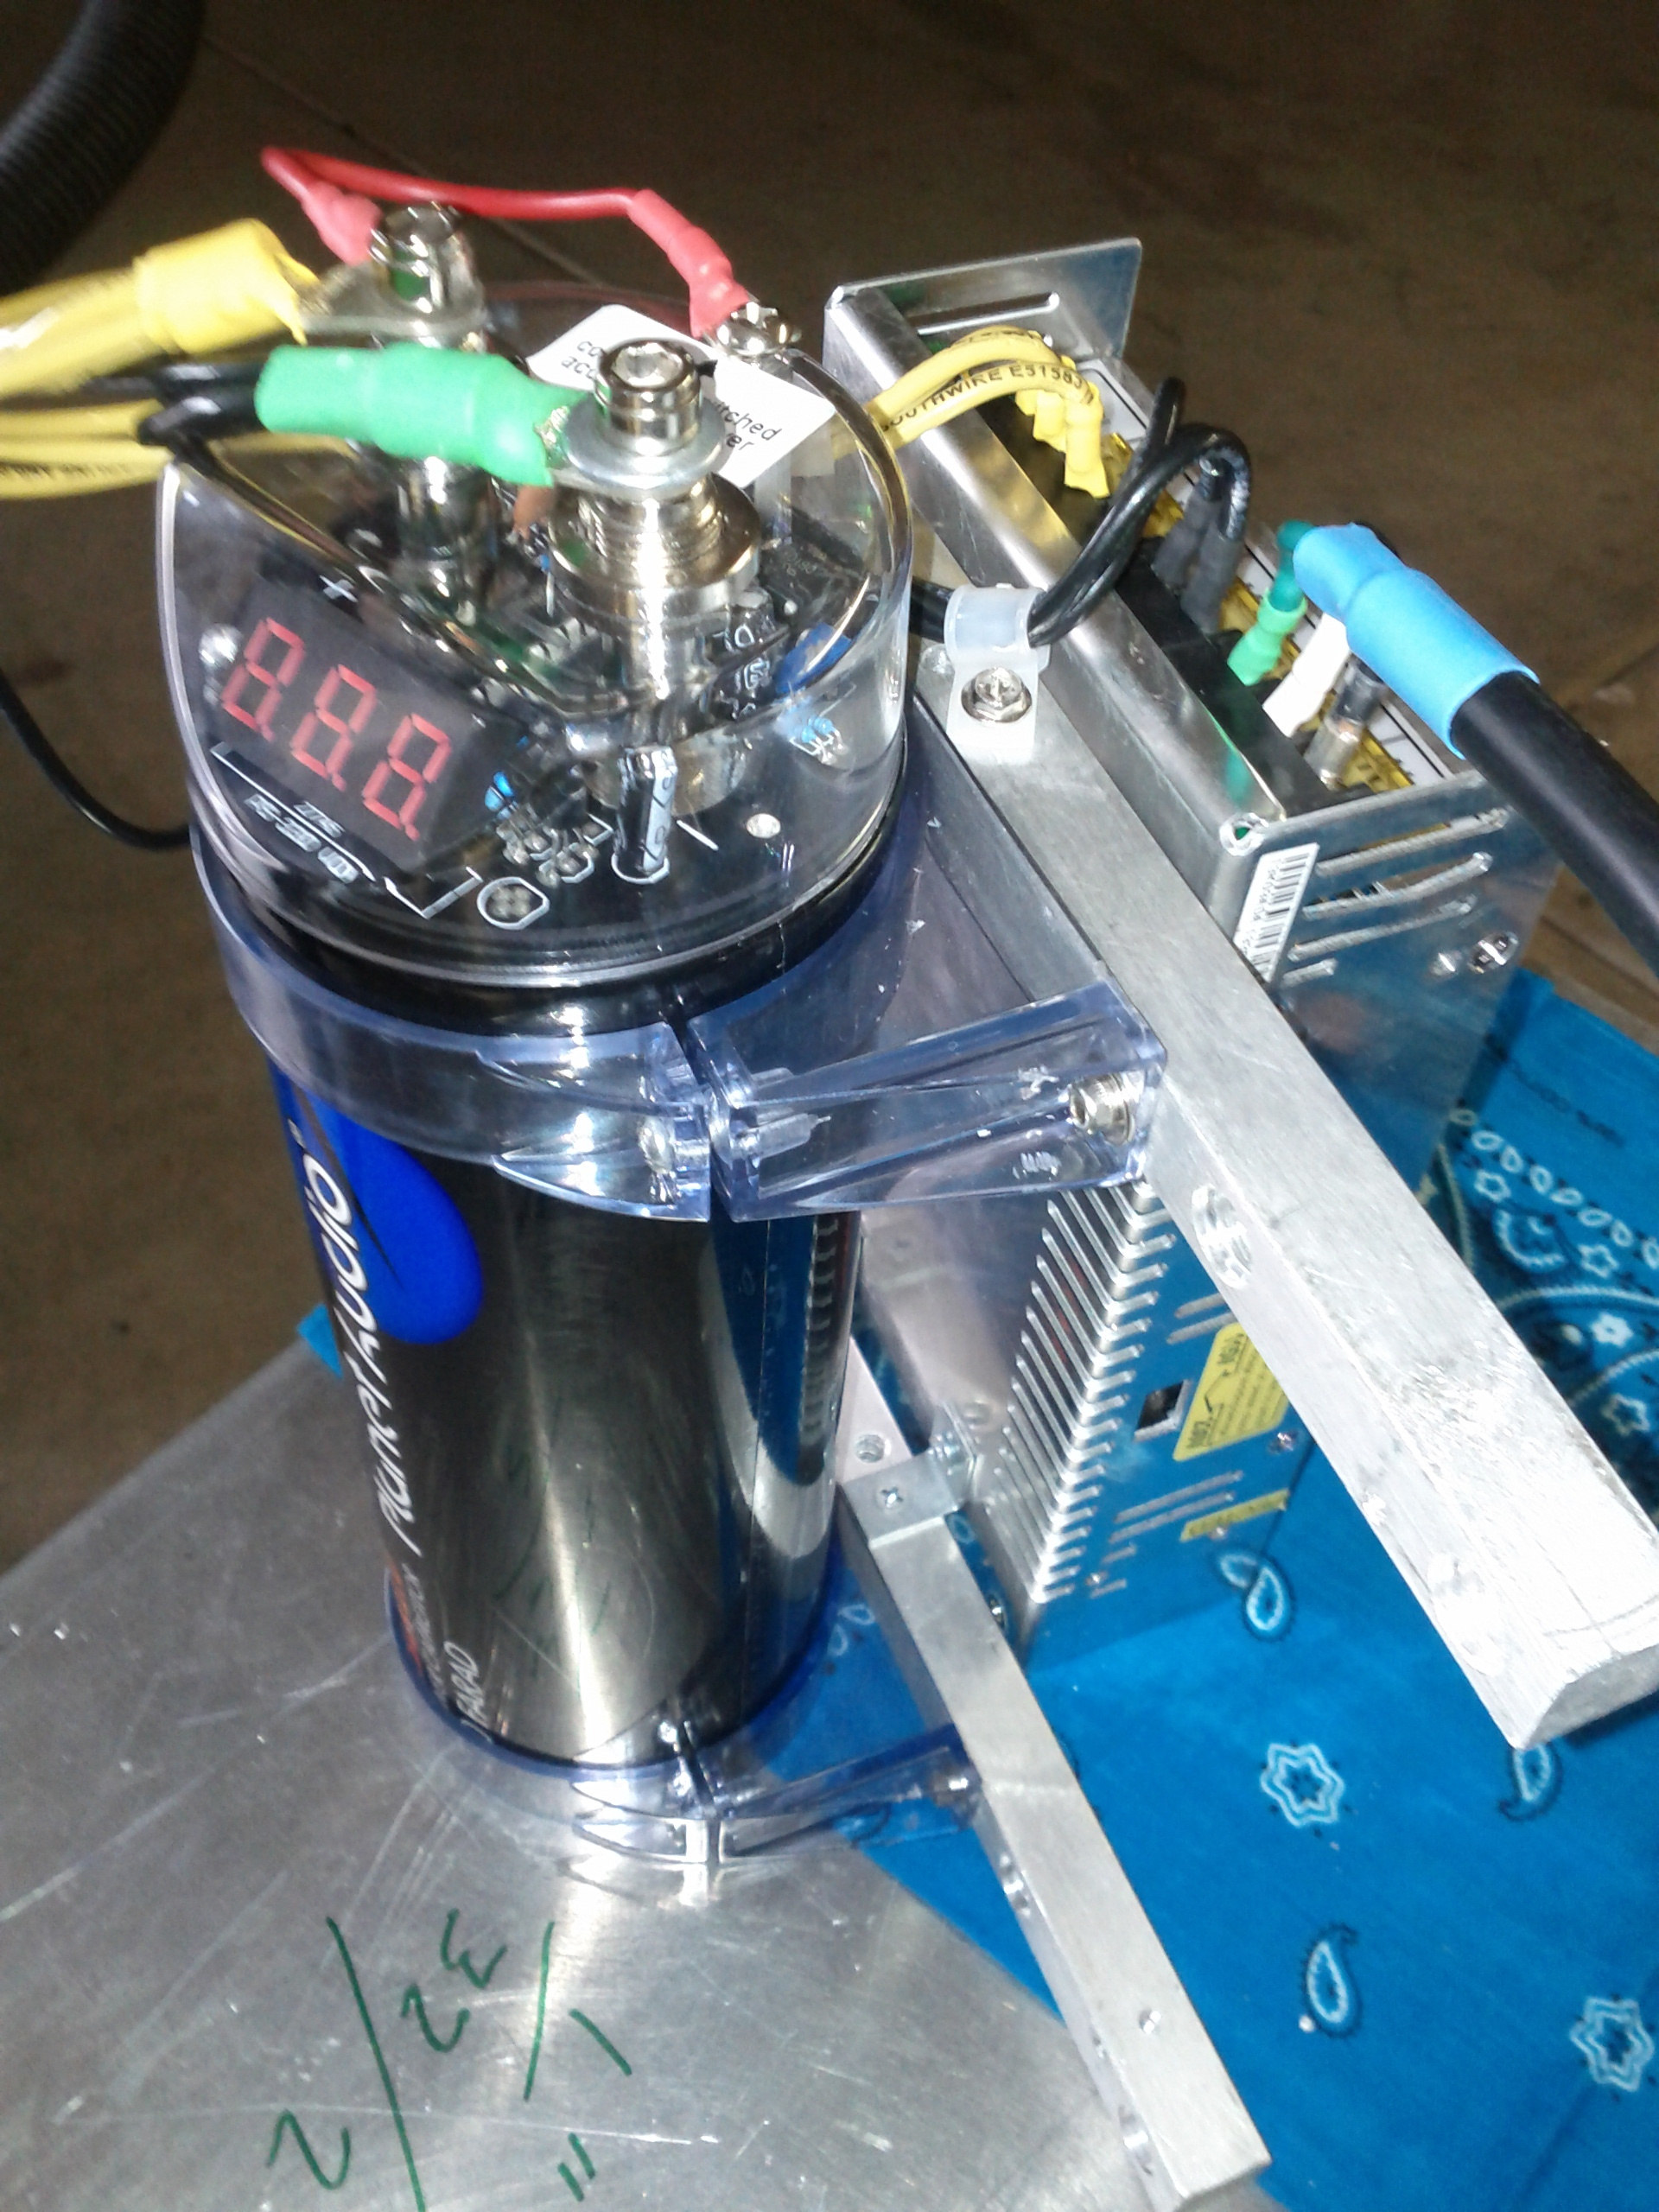
Some pictures of the assembly after being mounted and wired:
DC Side-chains:
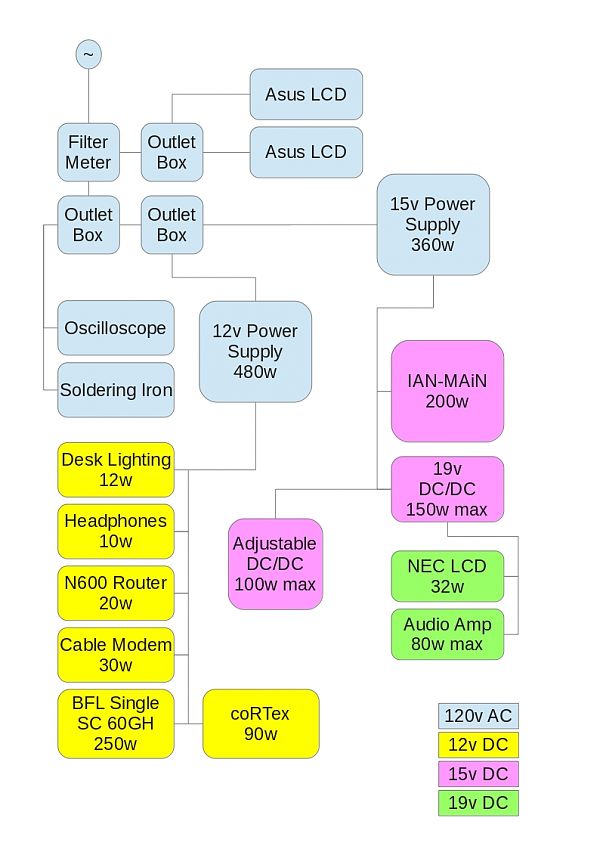
As of last week, the only electronics on the bench that are still run from mains-current are the main PC and its monitors, the soldering station, the oscilloscope, and the monstrous 12v power supply that feeds the DC/DC system. The 15v PSU is not yet installed, and the PC is still mains powered for now. Full block diagram follows...
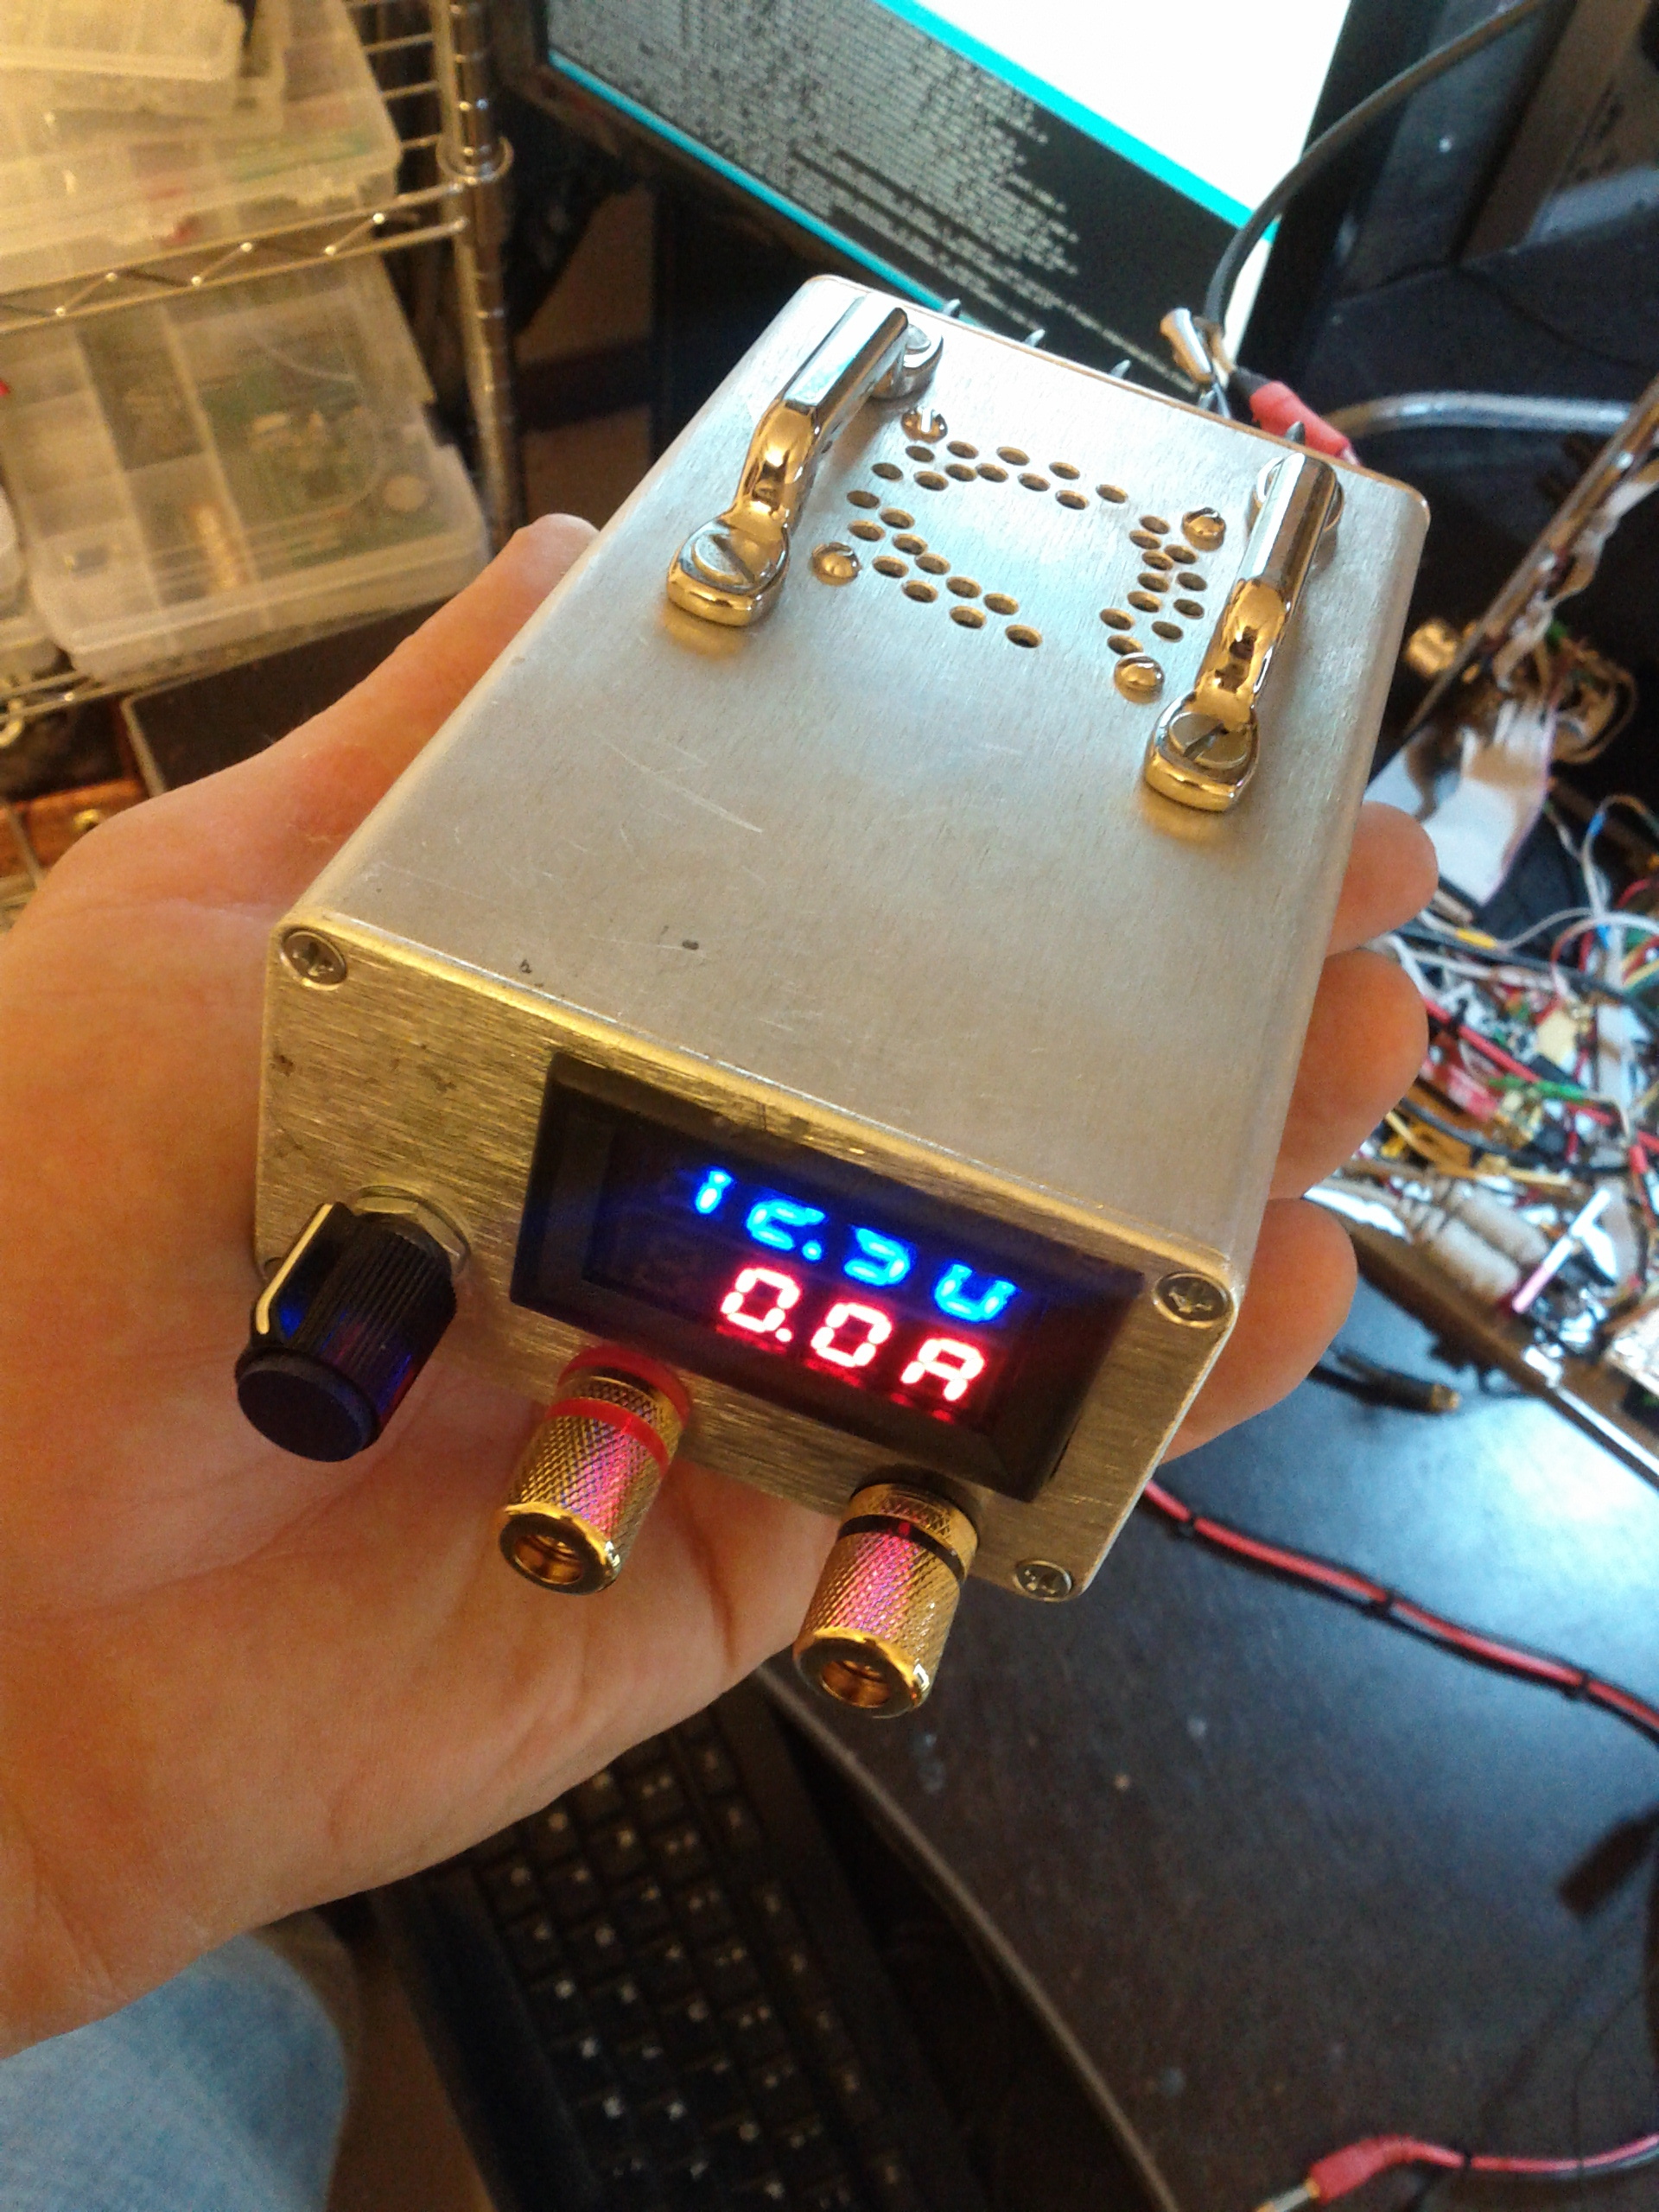
This is my newly-built adjustable PSU for building other gear. It is a step-down DC/DC converter with a voltage/current meter built in. It replaces the bulky AC-driven unit that gave 11 years of faithful service under conditions of frequent abuse. I built a few footman loops onto the top of the unit so I would have a place to strap excess cable length...
Future modifications will likely include...
- Aluminum cross-bracing to prevent lateral wobble
- Replacement of the ill-fitted keyboard tray
- Replacement of various MDF surfaces with framed aluminum
- Addition of a battery tray for an OpenUPS system
- Addition of an articulated arm for holding tools
Previous: Android --> GZip --> PHP
Next: Crosspoint Audio Router with Volume Control